An article about how to register a personal account for applying for a visa to Canada, as well as the rules for combining and uploading documents.
If you decide to apply for a visa yourself , then the first thing you need to do is create a personal account on the official website of Canada.
This will need to be done when preparing all types of visas: tourist , guest , student and work .
Need help applying for a visa?
We have extensive experience in preparing documents. Leave a request and we will evaluate your chances for free
Submit your application
Step-by-step instruction
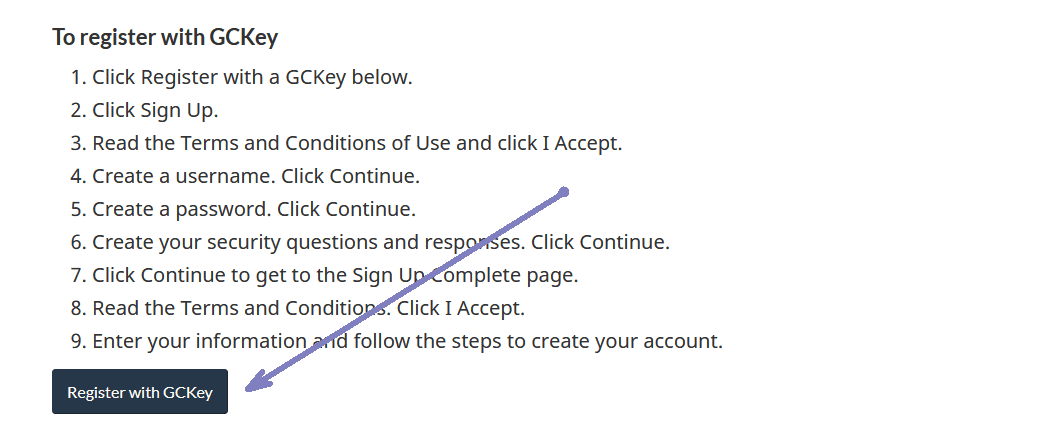
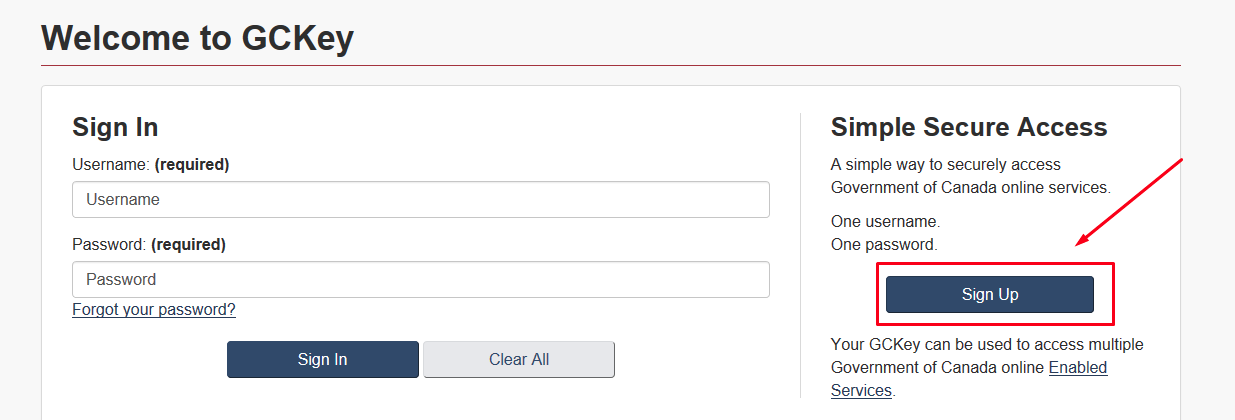
To get started, follow this link , scroll down a little and click “Register with GCKey”. After this, the system will direct you to the personal account registration page, where you must click “Sign up”.
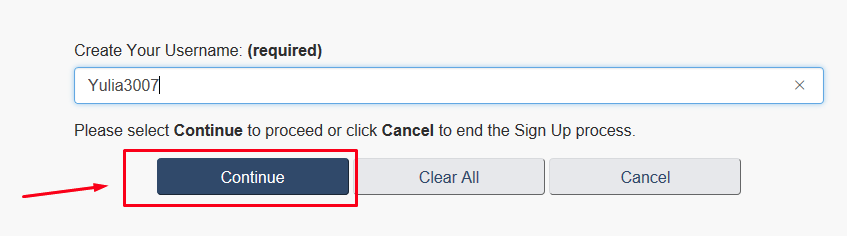
So, the registration procedure has begun. First of all, accept the terms of use by clicking “I accept”. Then come up with a UserName, it can be a combination of your first and last name, or a nickname. In the future, the username will be required to log into your personal account.
After you have specified the UserName, click “Continue”, then set a password and click “Continue” again.
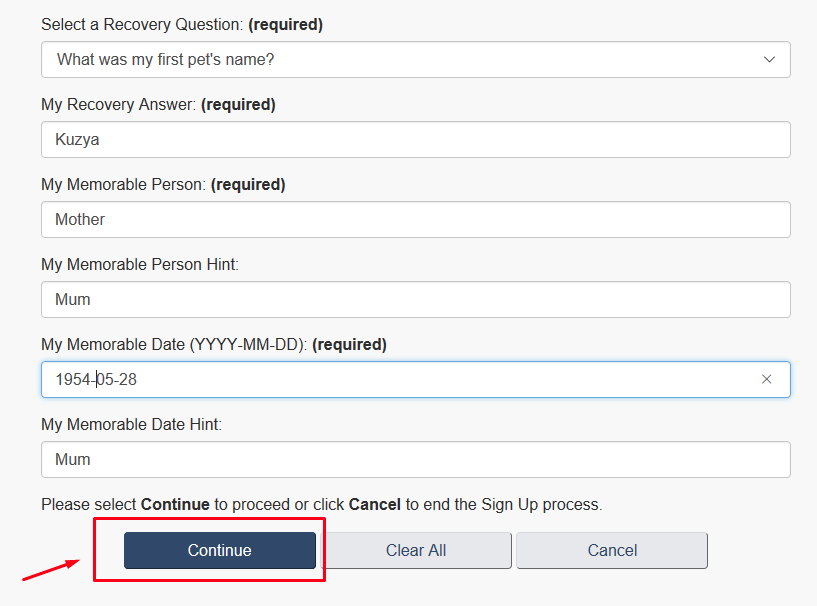
Next, you will need to set password recovery parameters, namely answer security questions.
By the way, the system can often crash, displaying the screen from the screenshot below. There’s nothing wrong with that, just follow the link at the beginning of the article again and log into your personal account.
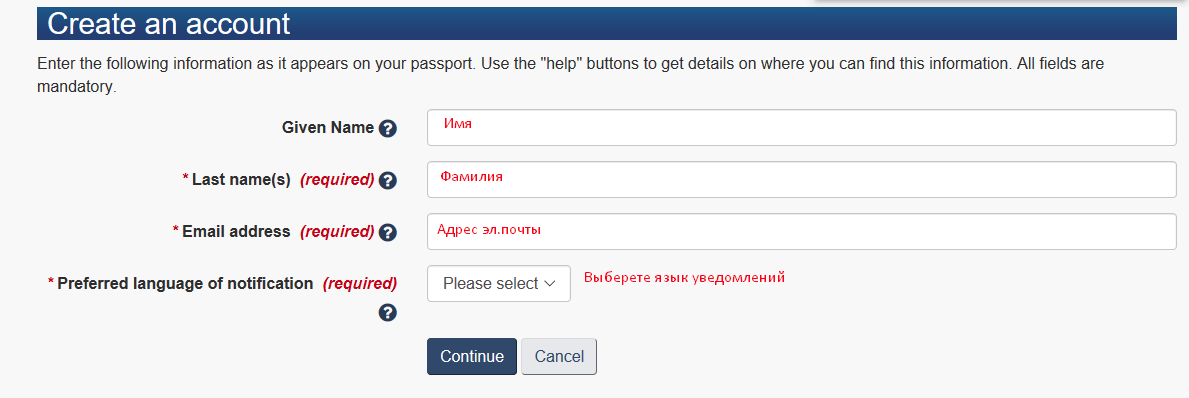
After you have asked the security questions, you need to fill out your profile. Here you already need to enter real data: first name, last name, E-mail.
And again, secret questions, they will be required when entering your personal account. You can come up with the names of the questions, as well as the answers themselves. The main thing is to take a screenshot right away or write them down in a notepad.
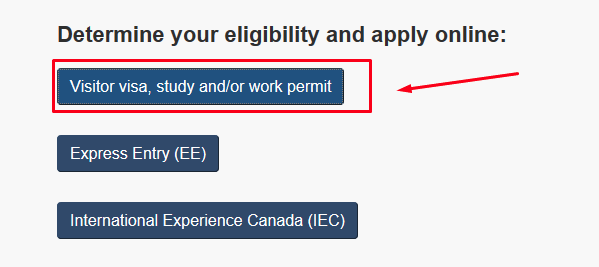
Great! Once you have filled out all the questions and answers, your office is ready. Now all you have to do is choose your visa type. To do this, click “Apply to come to Canada” at the bottom of the page and select “Visitor Visa, study and/or work permit.” Next, you will be faced with a series of questions again. You must answer honestly and provide only factual information.
We recommend using a browser with automatic translation into Russian (Google Chrome or Yandex Browser). Relevant for those who do not speak English/French very well.
After this short questionnaire, the system will issue a notification indicating the purpose of your trip. If you received it, then click “Continue”, and then again.

Next, a short questionnaire awaits you again.
In the paragraph “Are you giving someone access to your application?” indicate “NO” even if a travel agent or relative has access to the application. It is necessary to choose a different answer only if you actually have a person under power of attorney, or if we are talking about filing an application for a minor.
After the answers to the questions are given, you will see a page with all the questions and answers at once. You must check the information is correct and click “Continue”. Next, you will receive short information on using your personal account and uploading documents for a visa .
If you are not sure about any of the questions, you can change them later. But please note that if you change your answers, you may need a document confirming the updated information.
Assess your chances of getting a visa to Canada
Fill out the form and we will evaluate your chances for free as soon as possible!
Fill in the form
Uploading visa documents
First, a few rules on how to create and upload documents.
So, the valid formats are:
- PDF;
- JPG, TIFF, or PNG;
- DOC or DOCX (Microsoft Word Document).
We recommend uploading all files in PDF format and the photo in JPG or PNG.
Document merging rule
Since there is only one field for confirming finances or, for example, for additional information (Client Information), all documents must be divided into groups and combined into one file.
Documents should be in a logical order and placed one after another in turn.
For example, if you are combining financial documents, first place the sponsorship letter, then the sponsor’s passport, then documents confirming your connection with the sponsor, and only then the sponsor’s documents from the bank. All this needs to be combined into one PDF file.
The final file should be no more than 4 MB in size. If this figure is exceeded, compress the document using special services.
Attach original-translation-original-translation alternately.
It is also important to name the final document with the name of the field where you will upload it. This will greatly facilitate the review process and help avoid confusion.
Payment of duties
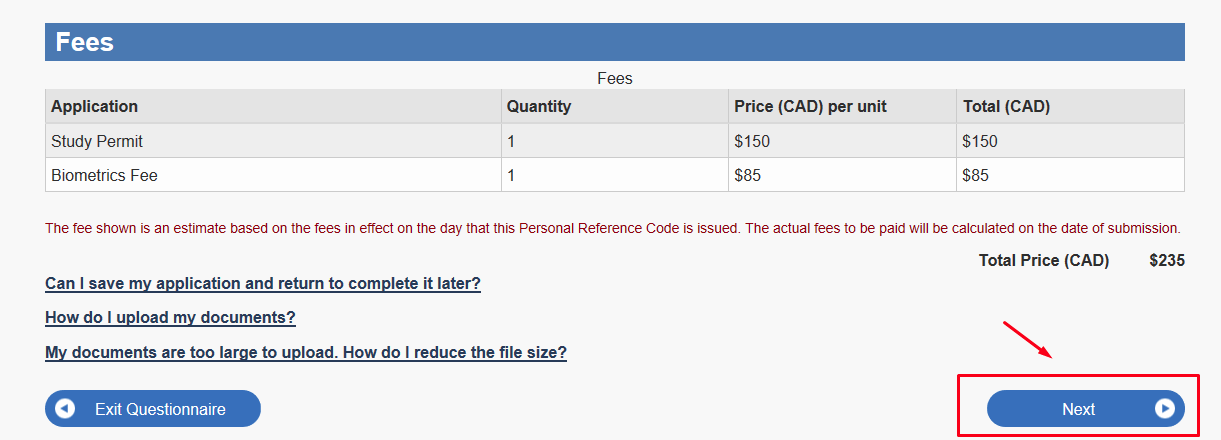
Since the summer of 2018, all applicants over 14 years of age must submit biometric data . Therefore, an additional fee of 85 CAD will be charged. The cost of obtaining a visa will depend on its type. For example, a regular tourist permit costs 100 CAD, and a study permit costs 150 CAD. In any case, the amount of fees will be indicated in the account.
Provided that all documents have been uploaded, you will see a “Next” button to proceed to payment.
On the next page you will need to answer the security question and sign the application (enter your data), then click the “Sign” button at the end of the page. The signature is valid for 20 minutes, if during this time you have not paid the fees, then you will need to sign again.
But it’s better to sign and immediately click “Transmit and pay”. And then the same button again.
Choose a convenient payment method and you’re done. All that remains is to wait for an invitation to take biometrics. You can read more about this procedure in our article. The review procedure will begin only after submitting biometric data. You can monitor this process in your personal account.